
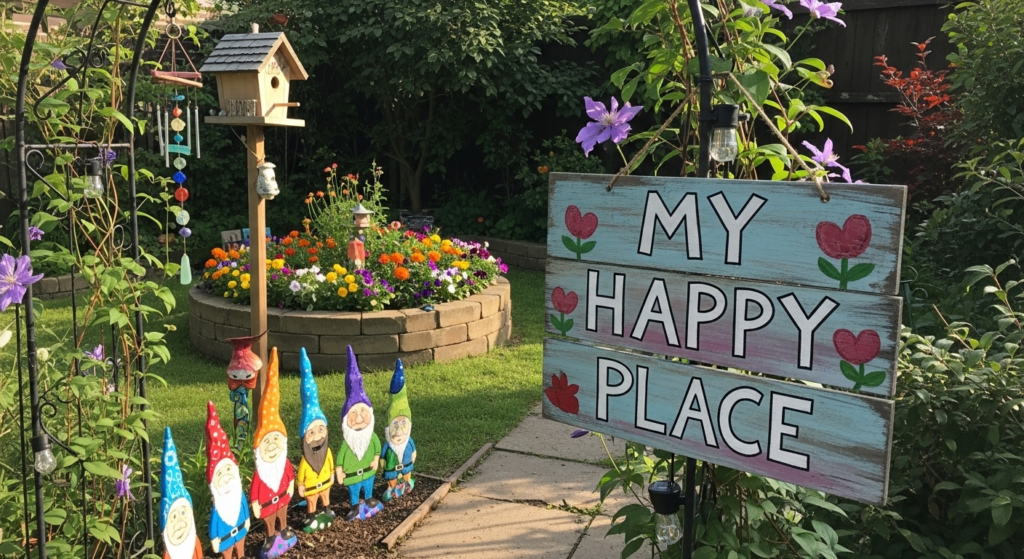
Everybody needs a little magic in their life. Fairy gardens can be your magic source. Besides being adorable decorations, fairy gardens can invite you to create your own little world. It doesn’t really matter if you have a huge backyard or just a tiny balcony – you can always make yourself a small magical place that makes you happy.
If you want to have a small container garden with miniature buildings and living plants, you can definitely create a fairy garden. It will be a perfect little home for a tiny fantasy character. The fascination is mainly in the tiny details, as you can become the architect of a tiny cosmos, deciding everything from the landscape to the furniture.
This guide shows how to create a fairy garden from scratch. We are going to talk about everything from planning to selecting plants and finally applying the finishing touches. By the time you finish reading this article, you will be ready to create a fascinating piece of living art that you can enjoy for many years.
The first step towards your fairy garden
Before you can dig your garden, you must be very clear about the plan for how to create a fairy garden that will perfectly fit your place. The very first thing you have to decide is the location.
Choosing a location
To be honest, it is pretty hard to think of a place where you wouldn’t be able to build a garden. Nevertheless, the location will determine what sort of plants you will be able to use.
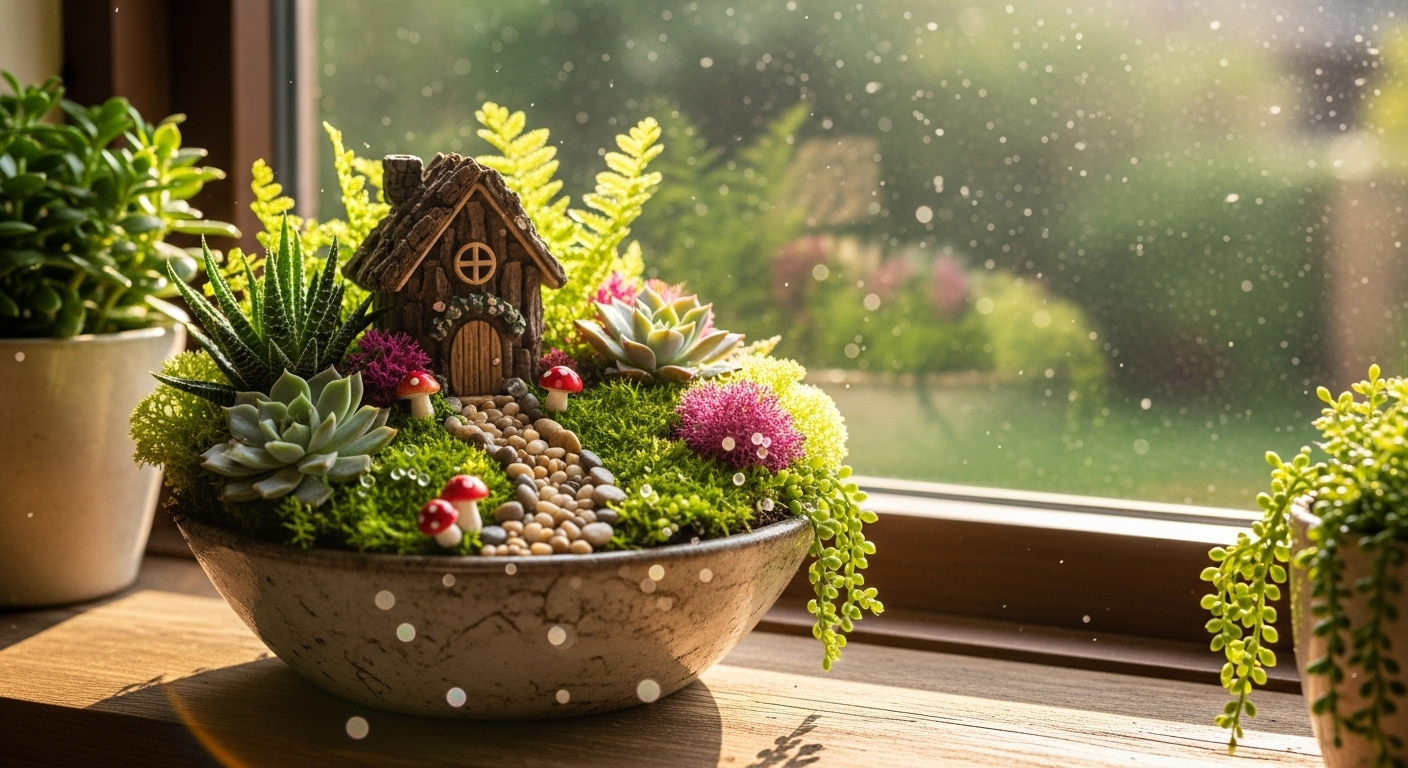
Indoor Gardens: If you are an apartment dweller or simply want greenery all year round, then choosing an indoor garden is the smartest option. You will need a place with bright but indirect light. The windowsill is often the perfect showcase for your work of art. Drinking indoors, however, you should be careful with drainage so as not to mess up the floor.
Outdoor Gardens: Outdoor gardens offer the advantage of being bigger and more beautiful. You can hide them in a shaded flower bed corner or put them on the patio table. Also, when building a garden outdoors, you have to take into account that the weather will have an impact on your decorations. Therefore, it is necessary to use materials that are still beautiful after being exposed to rain and wind.
Choosing the Container: The container is your stage. The only limitation is that it must be able to hold soil.
- Terracotta pots: Standard, stylish, and allow proper air circulation
- Broken pots: A current craze is to use pieces of broken pots to build tiered hills
- Wagons or wheelbarrows: Give them a nice rustic look
- Teacups: Great for small scenes with a single plant
Never forget to make sure that your container has drainage holes. Otherwise, you need to set up a charcoal and gravel layer at the bottom of your container for the roots to stay healthy.
Theme Selection
A well-chosen theme can help to keep your fairy garden design coherent. Besides, selecting a theme is helpful when you need to choose plants and decorations. If you are working on how to create a fairy garden that looks professional, a well-defined theme is your best friend.
Common Themes:
- Fairytale Forest: Envision moss, ferns, and weathered wooden furniture. The vibe is wild and hidden.
- Beachside Relaxation: Incorporate sand, succulents, blue glass beads for water, and tiny deck chairs.
- English Country: Flowering plants, stepping stones, and a cottage house are your focus.
- Quirky/Colorful: Vibrant mushroom caps, rainbow fences, and glittering marbles.
Pick a theme that best represents your personality. If the beach is your favorite place, then the beach theme should be your mini world. If you are more of the gloomy forest type, you should go for that theme.
Gathering Materials
When you learn how to create a fairy garden, gathering the proper supplies is one of the most important steps. It would be quite frustrating to stop halfway through your work because you are missing soil or a particular type of plant.
Essential Supplies
Foundations: You want a really good quality potting mix. Do not use soil from the ground because it will easily compact inside the container. Besides, you need pea gravel or small stones to line the bottom of the pot for drainage.
Plants: The stars on the show are undoubtedly the plants. You should choose “slow growers” as otherwise, the container will be overrun within a week. Select those plants that have small leaves and which, in a way, represent full-sized trees or bushes.
- Ground Covers: Irish Moss and Baby Tears produce a gentle green carpet,t which can be easily equated to a lawn.
- Dwarf Trees: Dwarf conifers or Boxwoods seem like big trees in a tiny setup.
- Color: Give your garden a touch of bright colors with Polka Dot plants or miniature violets.
- Succulents: If you are the type of person who always ends up forgetting to water the plants, then succulents are the ones for you, as they require very little water and have the cutest of alien floral looks.
Fairy Garden Accessories
What you can really let your thoughts go free is here. You can buy these or make them.
- Buildings: The house usually grabs the most attention. It can be a castle, a cottage, or simply a door propped up against a “tree”.
- Furniture: Miniature benches, chairs, and tables will invite fairies to relax in your garden.
- Figurines: You can choose a fairy figurine, but using gnomes, small animals, or even dinosaurs is totally fine too if that’s your inclination.
- Hardscape: Paths can be designed with small pebbles, blue glass gems serve as rivers, and twigs can be used to make fences.
Step-by-step guide to how to create a fairy garden from scratch
So here we are with the actual steps on how to create a fairy garden from the ground up.
1. Preparing the Base
The first thing you should do is to get a new or thoroughly cleaned container. Pour a layer ofan inch or two of gravel at the bottom. Such a simple step is important for providing oxygen to the roots and keeping them safe from rotting by draining excess water effectively.
After that, scoop in your potting soil. Fill the container to just below the top, leaving at least one inch space for watering. If your soil consists of big parts, just break them up with your hands.
Press the soil lightly to get rid of big air spaces, but don’t press it too much or too tightly. Roots should have a way to breathe. When planting a hill or side, set the soil shape now.
2. Planting the Landscape
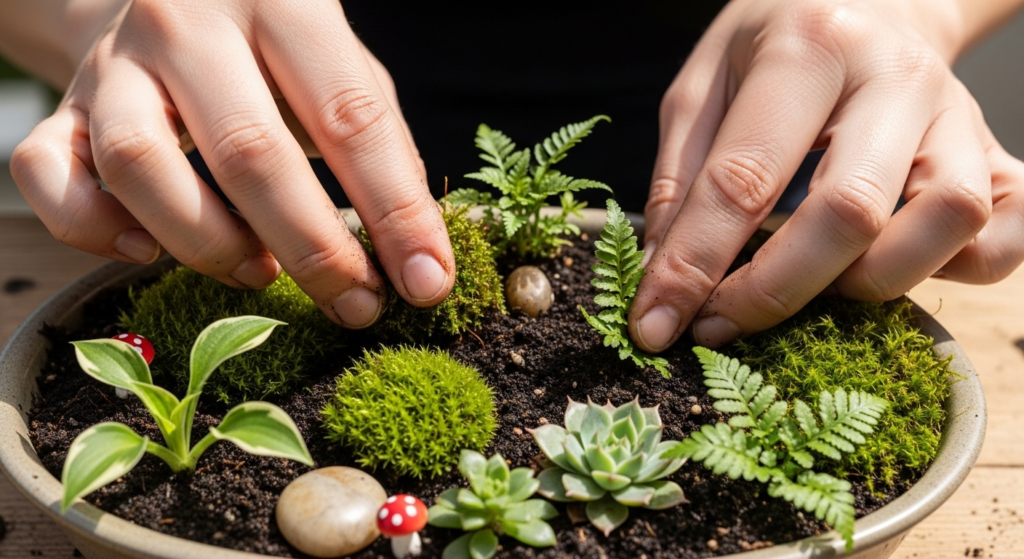
Arrange the plants on the soil before digging holes and plant them while they are still in the plastic pots to make playing with their layout easier.
Design Tips:
- Rule of Odds: Try to group your plants in three or five. It appears more natural.
- Height: If you want to have a nice view of your garden, place the tall plants in the back or in the center.
- Scale: Make sure the plants are not too big for your house model.
When you are happy with the design, get the plants out of their pots. Carefully loosen the roots if they are packed tightly. Make a hole, put the plant in the hole, cover the roots with the soil, and then water them just a bit to help the soil settle.
3. Adding Fairy Elements
What an exciting part of learning how to create a fairy garden, that is, you get to put the decorations.
The first thing should be the biggest piece that is typically the house. Place the house in the soil so that it looks like it has been there forever. It is not a good idea to just put it on top, press it down a little so that it gets the earth.
Next on your list should be the paths. The idea is to make a visually attractive trace by the door of the house. Water the sand or sprinkle the pebbles the way you want the path to be.
Bring your furniture and figurines together. Set up “scenes” if you want. Perhaps two chairs will be facing each other to enable people to talk face-to-face. Maybe a fairy crouching behind the fern.
4. Natural Touches
Basically, this step means filling in places where the plants do not cover. Firstly, the moss use to cover the worn-out ground acts as mulch and looks quite magical at the same time. Then bring a few stones here and there as if they were boulders. Pieces of bark can be used similarly to logs. All these natural elements help blend the artificial plastic or ceramic accessories with living plants, making the entire scene look natural.
Adding Personal Touches
No matter how much you understand instructions about how to create a fairy garden, the most fun part is that you have the liberty to improvise. Your garden should be a mirror of your personality.
DIY Projects
There is no need to purchase costly accessories. You can save money and still feel a lot of satisfaction by making them yourself.
- Penny Pond: Plant a jar lid in the ground, fill it up with water, and put little stones around the edge.
- Twig Fence: Stick tiny twigs with glue to produce a vintage-style fence.
- Toadstools: Dapple red paint over the little round stones with dots of white, and then place them in the moss.
- Signage: Carve the words “Fairy Crossing” on a popsicle stick and set it in the ground next to the path.
Personalizing Your Garden
Think about your hobbies. If books are your passion, make a little book using polymer clay and put it on a bench. If you are a dog lover, pick a figurine that resembles your pet.
Another great way of making the garden spot is the involvement of your family. In case you are learning how to create a fairy garden with kids, give them the chance to pick a rock or a shell that they like, which has to be a part of the fairy garden. This makes them feel that it is their own project.
Maintenance and Care
How to create a fairy garden is not the only thing you should know – there is also its maintenance. Places in which the pots are kept are small, and thus, they have particular requirements.
Watering and Feeding
Watering is like a game that requires you to be very precise in your moves. It should be said that small pots dry faster than large pots. Remember to check the soil every day. You should water the plant once the first inch of soil is dry.
Apart from this, be made aware that it is not good for your plants to drown them in water. A spray bottle or a watering can fitted with a spout that has a small hole in it is perfect. With such a device, the water can be targeted at the soil, and the furniture doesn’t have to get wet, and the gravel paths are safe, too, from the water washing away.
Feed the plants sparingly. Your goal is to keep the plants small in size. Once in the spring, use a diluted houseplant fertilizer. If you give them food all the time, they will quickly outgrow the pot.
Pruning and Grooming
What you do is prune if you want your garden to look like a tiny world. Cut the top part of the plant if it gets too tall. Use scissors to cut the ground cover back if it is starting to cover the house.
Regularly, get rid of dead leaves and other debris. In a tiny garden, just one dead leaf can look like a huge cover of tarp. By keeping the garden neat, you maintain the scale illusion.
Seasonal Changes
If you have a garden that is outside, it is likely that you will have to put it in the house when the cold season comes around. Many plants of the fairy garden are not able to survive a frost. At the same time, it is a perfect moment to clean the accessories. Wash the house and the furniture with soapy warm water to get rid of algae or dirt.
Start Your Magical Journey Today
Now, you have everything you ever wanted to know about how to create a fairy garden. This is a great blend of gardening, crafts, and storytelling. It offers a short escape into a smaller, more manageable world.
No need to obsess about getting everything right. A fairy garden is charming precisely because it is natural and always evolving. You start with a pot, some soil, and a dream, and before you realize it, there will be a magical landscape just on your windowsill.