
Making a kitchen table is one of the most satisfying DIY home projects you can do. It is pretty amazing that from a few pieces of wood, you can create the heart of your home where everyone gathers, and you will probably barely spend a quarter of what the same table would cost at a store.
Besides saving money, you get to have a piece of furniture made uniquely for you when you build it yourself. It can be any size, made from your favorite wood, and finished the way you like, so it matches perfectly with your decor.
This tutorial is a one-stop reference that caters to everyone, from those starting out to those who have some experience. If you have barely used a drill before and will be borrowing one, or you are a weekend hobbyist looking for a new project, the guide has something for you.
From coming up with ideas and buying the materials to creating and painting the table, this walk-through will guarantee the success of your DIY table project.
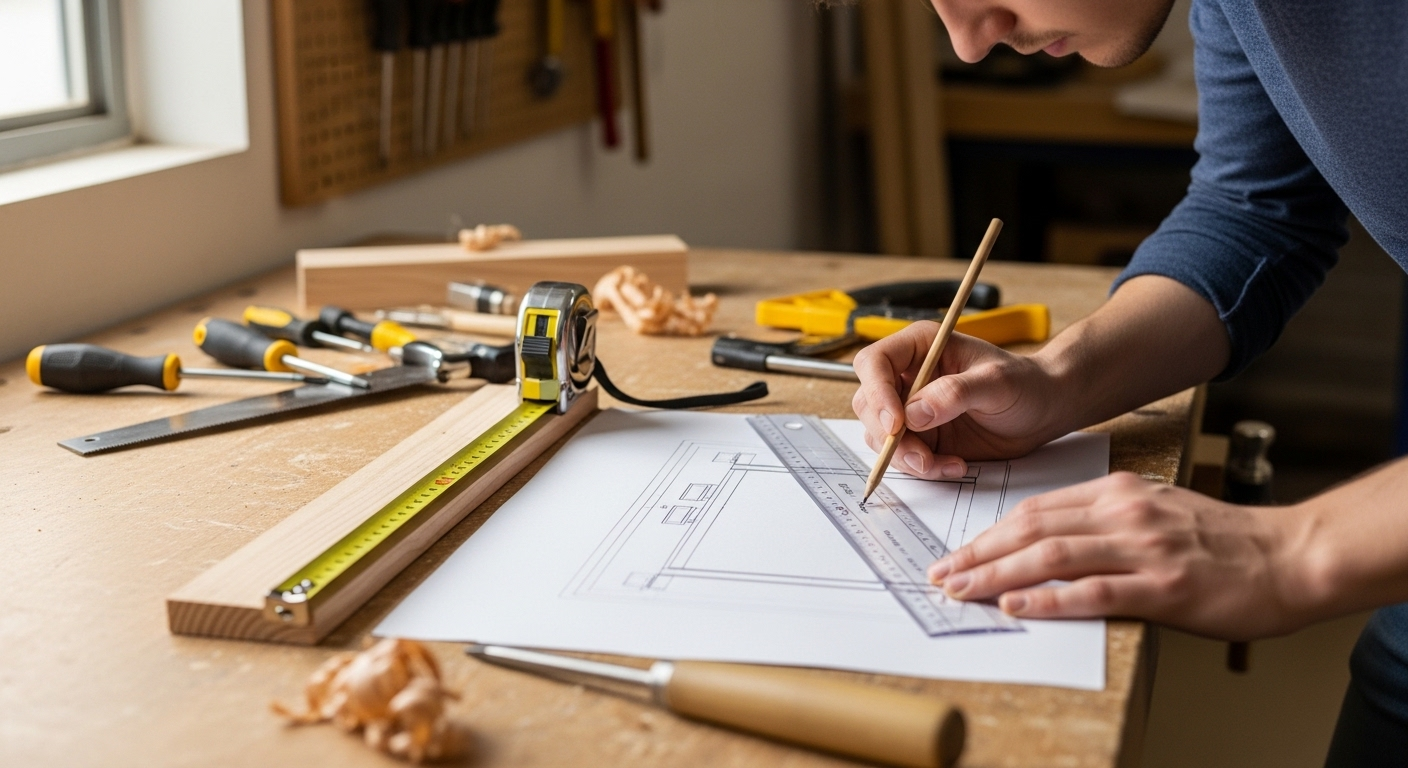
Planning Your DIY Kitchen Table Design
Without a proper plan, the risk of failure is high. So a plan is necessary before you go and get your hands on a piece of wood. You can do many things with a kitchen table; that’s the fun part, but you have to make many decisions at the beginning of the process.
Choosing a Style
The table has to go well with your home’s look and feel. Let us help you by giving some very popular options:
- Farmhouse: A farmhouse kitchen table is usually made of rough-hewn, unfinished wood, which has a very warm and cozy vibe. They have big, sturdy legs and thick tops, giving them a rustic and aged look. You don’t have to be a pro to get great results, as nice imperfections can make your table more charming.
- Modern Industrial: With this style, the top of the table is made out of wooden planks while the legs are made of metal (hairpin or U-shaped are the most common choices). This option is usually the most straightforward for a first-timer since the only thing you need to build is the table surface.
- Traditional Trestle: In a trestle table, the top is supported by a beam that runs between the two large bases. The table offers a lot of space for the legs and has a traditional style. But the joinery might be a bit more difficult since intricate corner joints need to be made.
Measuring Your Space
If you aren’t careful, you can buy or make a kitchen table that is too big for your room. A mistake often made is to build a table that dominates the room and makes it look smaller. So measure the room where you want to put the table precisely. In most cases, you need to have 36 inches of space between the table and the walls or other furniture to let a person get out of a chair comfortably.
- Small nooks: Round tables with a diameter between 36 and 42 inches or small squares are suitable.
- Standard dining rooms: Rectangular tables that range from 6 to 8 feet long are typically appropriate.
- Shape: Rectangular tables are the best choice for large families, while circular tables are great for intimate spaces where the conversation flows easily.
Selecting Materials
Your choice of material will be determined by your budget and skill level.
- Construction Lumber (Pine/Fir): This is by far the cheapest option. 2x4s and 2x6s can be purchased at your local hardware stores easily. Being a softwood, it is easily dented but can be distressed for a rustic style.
- Hardwoods (oak, maple, walnut): These types of wood are costly and may be difficult to find (usually in a specialist store). However, they have a great strength and very nice finishing qualities.
- Reclaimed Wood: If you use wood taken from an old barn or floorboards, you will have very characterful pieces, but cleaning and removing the nails will be a lot of work.
Gathering Essential Tools and Materials
If you want to put together a wooden kitchen table, then besides the wood, you will need to get a few more things: tools to saw and drill, clamps to hold the workpieces, sandpaper to sand, and finishing materials. You don’t want to destroy your table before it’s finished.
The Tool List
- Miter Saw: For making crosscuts (cutting boards to length).
- Circular Saw or Table Saw: For ripping boards (cutting them to width).
- Power Drill: Driving screws and making holes is where this tool comes in handy.
- Orbital Sander: Even the most skilled hands can hardly do a wood surface finishing as flawlessly as a sander can.
- Pocket Hole Jig (Optional but Recommended): It enables making the perfect joints between the boards and hiding the screws.
- Clamps: You can never have enough clamps. Pipe clamps or bar clamps are necessary to hold the tabletop boards together while the glue dries.
- Tape Measure and Speed Square: For accuracy.
- Safety Gear: Always wear safety glasses, hearing protection, and a dust mask.
The Material List
Exactly how much of each will depend on your design, but a table always requires the following:
- Lumber: It is a must to purchase 10-15% more wood than you calculate for a project so that you have some extra wood to replace whatever is a mistake or has a defect.
- Wood Glue: This creates a bond stronger than the wood itself. Do not rely on screws alone.
- Screws: 2.5-inch pocket hole screws are standard for working with 2x material.
- Stain or Paint: To add color.
- Polyurethane or Wood Oil: To seal and protect the surface.
- Sandpaper: Various grits ranging from 80 to 220.
Sourcing Tips
If you want construction lumber, the most convenient way is to look for it in the big-box stores. Don’t rush it when you are picking the pieces of wood you want. Try to visualize an arrow shooting through the board lengthwise; thus, looking along it, you check if the board is not warped, twisted, or bowed. The straighter the boards, the better. When it comes to hardwoods, just Google “hardwood lumber dealer near me.” Such dealers normally have a better quality stock apart from the home centers.
Step-by-Step Construction Guide
The process of the physical construction of your DIY kitchen table is an exciting time; it’s the part where your vision goes from a sketch on paper to a tangible object. Regardless of the specifics of the design, there are some basic principles that are always followed during construction.
Step 1: Prepare the Lumber
When using new construction lumber, most probably you will have to get rid of the rounded edges on the sides of 2x6s or 2x4s if you want a smooth, continuous table top. The operation is known as “ripping.” However, if you don’t have a table saw, you can make the planks with natural edges, but be aware that crumbs will get stuck more easily. Make sure all your boards are the same length as per your plans. Measure twice, cut once.
Step 2: Assemble the Tabletop
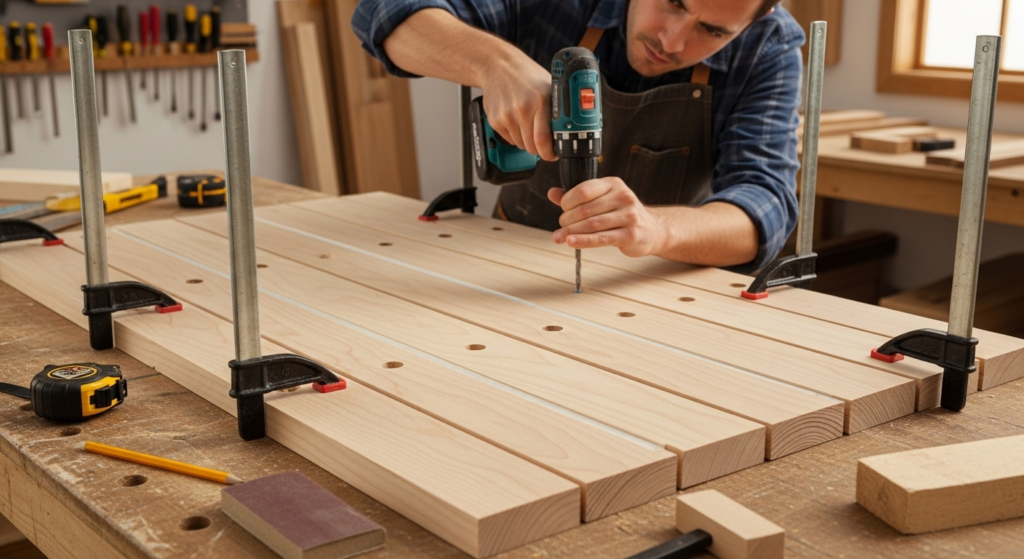
Since it is the part most people will see, it is probably a good idea to spend most of your working time on the tabletop. First, put all the boards on a nice flat surface, and then reorder them until you achieve the most beautiful grain and the tightest fits.
- Drill Pocket Holes: If you are working with a pocket hole jig, drill holes along the edges of the boards (distance between holes approximately 6-8 inches).
- Apply Glue: Next, you want to put the glue on one of the edges and then join it with another without a break. Running a bead of glue along the edge of the first board is the way to start.
- Clamp and Screw: Bring the two boards together. Use clamps to provide a flat surface and a tight seam. Then take a drill and drive the screws in the pocket holes.
- Repeat: Continue this process until the full width of the table is assembled. Let the glue cure for at least 24 hours.
Step 3: Build the Base
The job is not done as far as the base is concerned. Construct it while the tabletop is drying. Legs and apron are the parts of the table base. The apron is that frame lying just below the tabletop, and it also serves as a connection between the legs.
- Cut the legs: That your legs are the same length is vital if you are using wooden legs; otherwise, the table will wobble. Standard dining height is 30 inches, so legs are typically cut to around 28-29 inches (accounting for the tabletop thickness).
- Attach the Apron: The legs and the apron go together first. It is a good idea to use a square to check that the corners are really at right angles.
Step 4: Attach the Base to the Top
The last stage of assembling your table is affixing the base to the top. It could be dangerous not to pay special attention to wood movement phenomena. Wood expands and contracts with the changes in humidity. Therefore, if the base is screwed too tightly to the top, the wood could split.
- What you should do is use “Z-clips” or “figure-8 fasteners.” These allow the wood to move slightly without breaking. Another way could be to enlarge the holes in the apron so that the screws slide in them when the top is moving.
Finishing and Personalization
The finishing touch is what seals, beautifies, and protects the surface of your new kitchen table, and it starts with sanding. A good finish can make your table a focal point, and it will also be easier to maintain.
Sanding
At this stage, you mainly remove the glue spots, rough patches, and some shallow scratches. Those can be done by starting with 80-grit paper, then 120-grit, and finally 220-grit.
- Tip: Do not skip grits. Each grit removes the scratches left by the previous one.
- Cleaning: Wipe off all the sanding dust using a tack cloth or a rag moistened with mineral spirits before you apply your stain.
Staining and Painting
According to your preferred finish, you may want to put the color of your house kitchen table.
- Conditioner: Pine and other softwoods can be stained unevenly to have brown patches. To get rid of such a look, just use a pre-stain wood conditioner.
- Stain: Apply the stain with a rag or foam brush. After a few minutes, wipe off the excess (follow directions on the can).
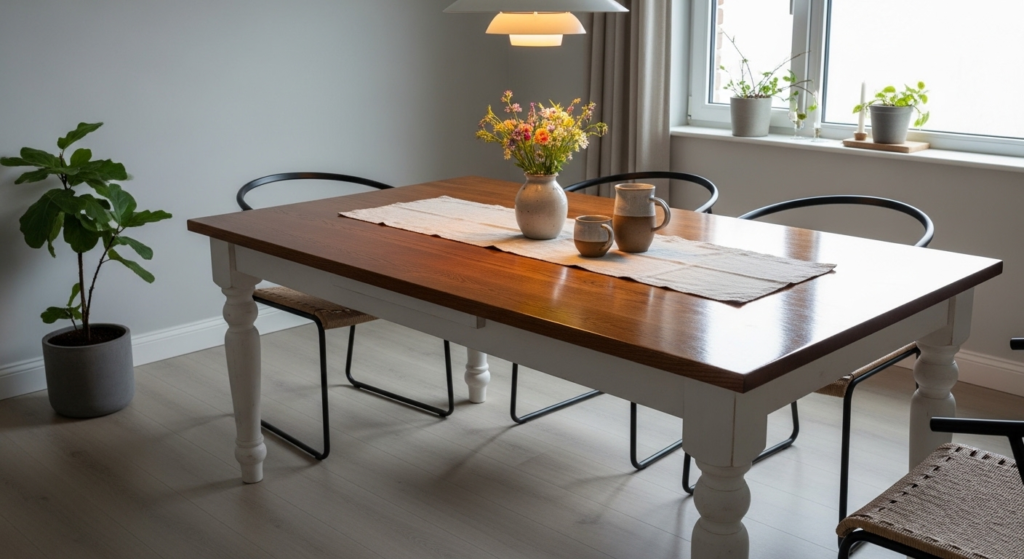
- Paint: In addition, a white-painted base combined with a stained top is a farmhouse look.
Sealing
There is no point in applying a finish that is not resilient enough to the frequent use of a kitchen table.
- Polyurethane: Water-based polyurethane dries clear and fast. Oil-based poly adds an amber glow and is slightly more durable but takes longer to dry. To get a durable finish, apply at least 3 coats, sanding lightly between each coat using high-grit sandpaper (320 or 400).
- Hard Wax Oils: Rubio Monocoat is an example of a product that is pricey but very easy to apply and repair. Such products leave the wood surface matte and natural-looking.
Troubleshooting and Maintenance
That even the best-designed DIY kitchen table will not go through without giving any trouble at all is something to be accepted. Here are the tips on how to deal with the problems you can face.
Common Construction Issues
- Wobbly Table: If you don’t get the table legs level, then it is likely that one of these two things causes the table to wobble: The floor is not level, or the legs are uneven. You can easily fix it by putting adjustable screws in the bottom of the legs.
- Uneven Tabletop Seams: After the glue has set, one board may be higher than the other, in which case you have several options: If it is just a small difference, sanding will be enough to get everything at the same level. And for much bigger gaps, the planning of the high spots might be necessary.
- Gaps in Joints: If the boards are off the perfect fit, the resulting cracks can be hidden by filling them with an appropriate filler. Mix sawdust from a certain wood you use in your project with wood glue to create a paste of the same color, then push it into the crack and sand it when dry.
Long-Term Maintenance
To make your table look like the day it was bought for a long time:
- Cleaning: Simply use a damp cloth with a mild dishwashing soap. You should not use any type of chemical cleaners, as they might damage the finish.
- Protection: To protect the table from heat spots and water rings, always use coasters for drinks and trivets for hot pots. The surface may turn whitish from heat.
- Refinishing: Solid wood furniture has this great quality—you can get rid of scratches by sanding and refinishing it back to its original beauty.
Showcase of DIY Kitchen Table Ideas
Do you want to see some nice photographs to get inspired for your next kitchen table project? Sometimes just seeing what other people have done is enough to get you going.
The Herringbone Top
Instead of running the boards parallel to each other, cut the pieces at opposing angles to make a chevron or herringbone pattern. Such work requires more precision in cutting, but the result is most certainly worth the effort.
The Live Edge
You simply buy a slab made of wood, and it still has the natural edges from the tree. What you have to do is sand it, add some epoxy to the cracks, and then put on the flashy steel legs. It’s a combination of nature that has not been disturbed and chic, urban design.
The Pipe Leg Table
A total industrial look is what you will get if you base your work on galvanized steel plumbing pipes and their flanges. Pipe legs are incredibly strong and can be attached without any woodworking skills, merely by screwing symmetrical pipes together.
Just do a search, and you will find countless tutorials and videos on the topic. Social media is also very popular among the community of builders who share their ideas and modifications to plans.
Start Building Today
Nothing can compare to the feeling after a DIY kitchen table that was from the beginning to the end, mainly your work. Every time you sit down for dinner, do homework, or have coffee with a friend, you will realize that you have created the very place of gathering from the wood and somewhat utilitarian tools in your hands. It is a functional piece of art that tells a story.
Do not be afraid to make mistakes. Wood is forgiving. If you make a mistake with the length of the board, just purchase another one. If the stain is darker than it should be, sand it. The lessons acquired through doing the project will be fundamental in all your future home improvement endeavors.
Go get your tools, bring home your wood, and make your dream come true. We are looking forward to seeing your work. Upload a picture using the hashtag #MyDIYTable.