
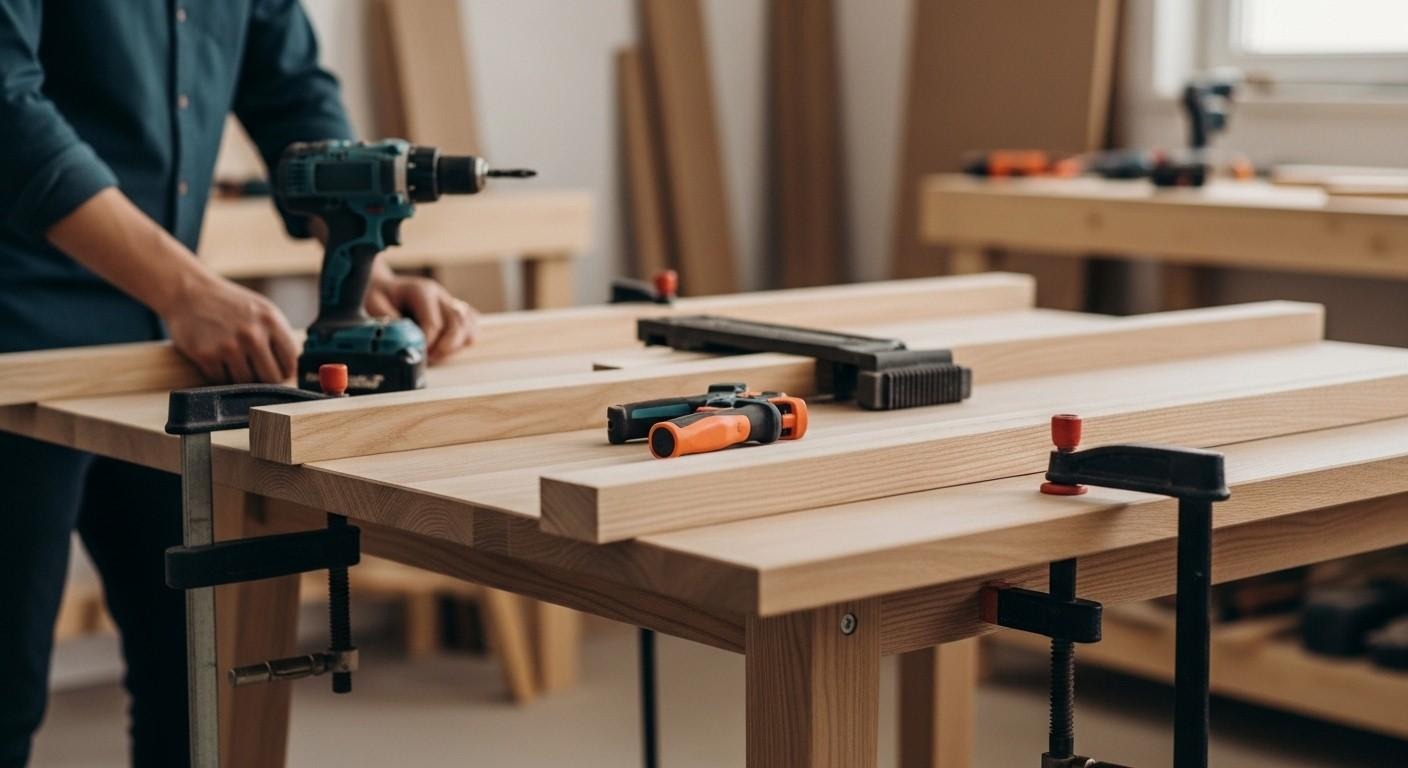
Those who decide to manufacture their own furniture from the ground up are becoming more and more numerous—and you can easily guess the reason for this trend. When you undertake a kitchen table DIY project, you have a chance to design it according to your house’s dimensions, personalize the style, and choose the finish, which practically always results in getting a kitchen table at a considerably lower price than if you bought one in a store. Besides saving money, there is also the added pleasure derived from the fact that you are using a piece of furniture you have made with your own hands.
However, if the idea of constructing a piece of furniture frightens you, then do not worry about it. To get started with projects like this, all you really need are the suitable materials, very few basic tools, and clear directions for carrying out each step. After reading this article, you will be fully prepared to build your own kitchen table from scratch, including a detailed procedure on how to choose the wood and the final steps of applying the sealant to your kitchen table.
Why Make Your Kitchen Table?
The benefits that a homemade kitchen table brings are beyond what a piece of store-bought furniture has to offer. First of all, you can make a really big saving on money. For instance, a hardwood kitchen table may cost you between $500 and $2,000 if you buy it in the store. If you decide to make your own kitchen table. You will be able to do it by spending only $150–$400, of course, depending on the kind of wood you decide to use.
Another feature is that the kitchen table can be personalized. You have the freedom to determine the dimensions, choose the kind of wood, decide on the color of stain, and choose the style of the legs. I guess you know the feeling of having to use a table, although it is not exactly the kind that suits you.
Apart from that, the DIY furniture community has made it so that projects like this one are much more accessible now than before. You never get very far from a helping hand and some advice nowadays because there are plenty of online forums, YouTube tutorial videos, and local maker spaces. If a problem appears in your project, you can be sure that someone else has already figured it out.
Step 1: Pick the Wood and Materials
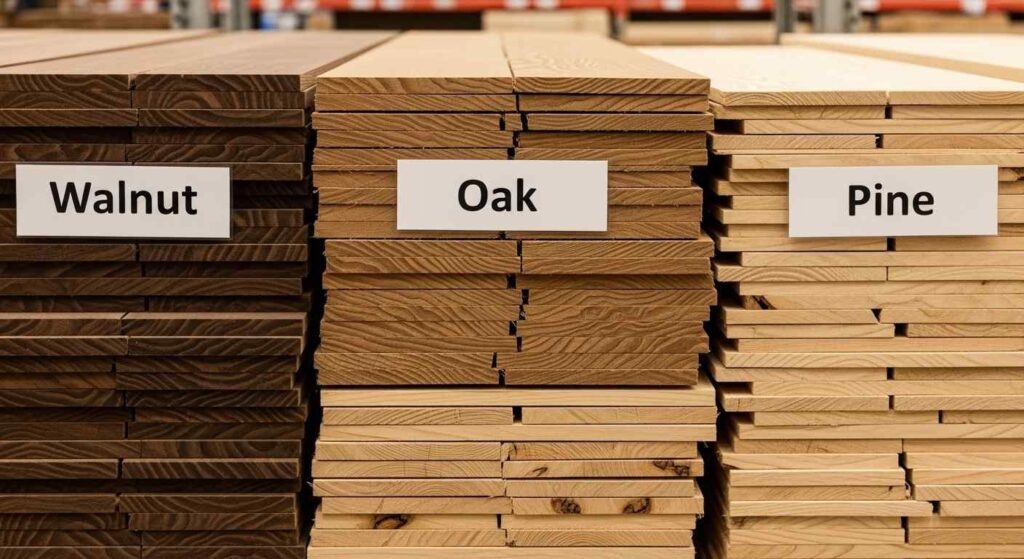
The kind of wood you go for will, in fact, determine the style, sturdiness, and price of your DIY kitchen table quite significantly. The following is a brief explanation of the three most popular choices:
- Pine: Cheap and readily available, but it is a softwood and so prone to dents. The kind of wood that would be perfect for creating a rustic farmhouse look.
- Oak: A hard, beautiful, and long-lasting wood. More costly than pine, but you don’t have to worry about it being damaged easily, as it will last for years.
- Walnut: A rich shade and a lovely grain, but at the same time, the most expensive choice of the three. I would say that only those who are very concerned about looks should consider it.
In case you’re planning your first kitchen table, either one of these two, pine or oak, would be perfect, as they combine the best features of both woods: they are easy to work with, yet they last. You may want to go to your nearest hardware store if you want to buy cheap wood, but if you are also looking for good quality and a wide variety, then you might consider visiting a specialized lumber yard.
Other materials you may need:
- Wood glue
- Screws (2.5–3 inch wood screws)
- Sandpaper (80, 120, and 220 grit)
- Wood stain and sealant
Step 2: Collect Your Tools
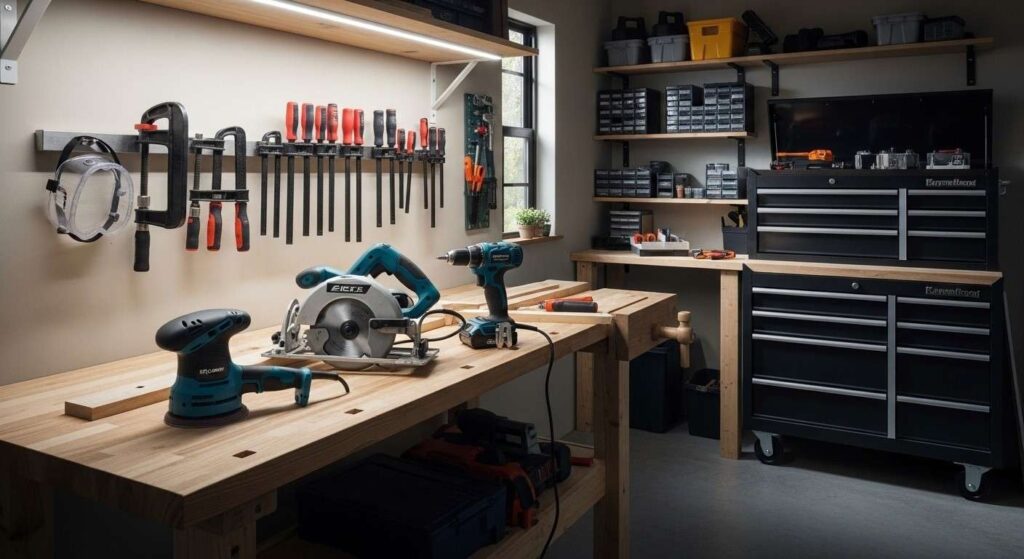
We are not looking for a fully functional workshop here, just a few pieces of equipment with which one can make a kitchen table. Below is the list of the tools that are really necessary for the work:
Highly necessary:
- Circular saw, or miter saw
- Power drill and bits for it
- Orbital sander
- Clamps (the number of which should be not less than 4)
- Measuring tape and carpenter’s square
- Goggles and a mask for safety
It would be nice to have:
- A pocket hole jig (it will make your joints nice and easy)
- A router (to make the edging more decorative)
- A level
In case you don’t have a circular saw or sander at your disposal, maybe consider renting these tools. I believe that getting a circular saw or sander from a rental is an extremely efficient solution in the case of one-off projects, such as a DIY furniture project, which means a substantial saving on your part.
Step 3: Take Measurements and Cut the Wood
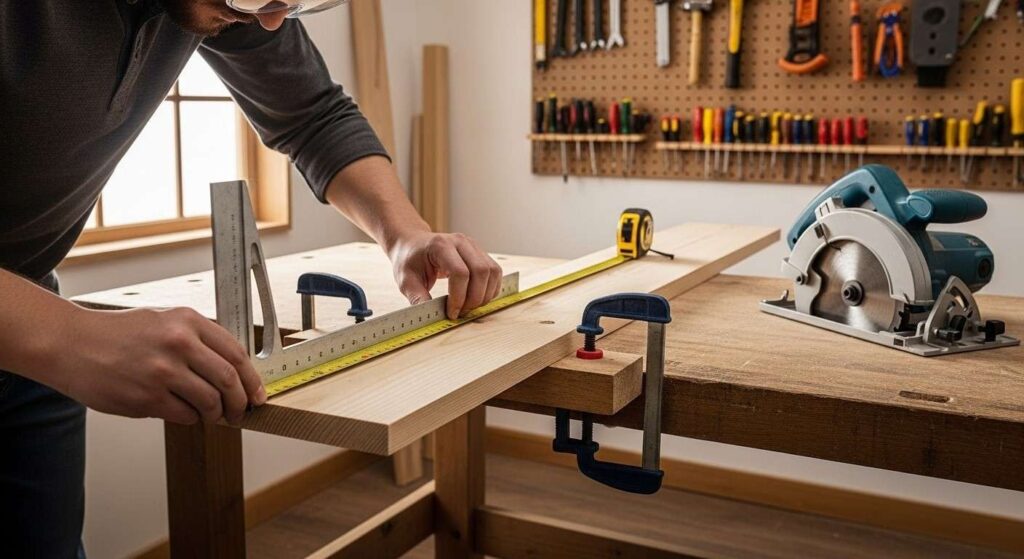
Precisely measured parts are the basis of your new kitchen table. Typically, a table intended for family meals is 28–30 inches high, and the top is of a size that can comfortably seat all members of the family. For example, a table designed for 4 persons will measure 36 x 60 inches.
Measuring and cutting instructions:
- Draw a sketch of your table, showing the dimensions of all sides.
- Use a pencil and a carpenter’s square to draw the line of each piece that needs to be cut on the wood.
- Before making a cut, double-check all measurements—once the wood has been cut, it can’t be glued back.
Always remember to fix the piece of wood you want to cut using a clamp before you start cutting it with a circular saw. Also, keep in mind that your fingers must be kept far away from the blade and that eye protection should be worn too. Let the blade get up to full speed before you allow it to touch the wood.
Step 4: Making the Table Frame and Legs
As soon as you have cut the boards, you can move on with assembling the frame. The frame consists of four boards of aprons. These will connect the legs and also support the top of the table.
Assembly:
- Spread wood glue over the joint between the leg and the apron.
- Press the parts together by means of clamps and hold them while the glue cures for 20–30 minutes.
- Lightly screw a couple of small screws in to make firmer joints.
- Employ the level to verify whether the four legs of the table are even. In case the length of one leg differs slightly, you can easily fix it by sanding a little bit off the bottom of the leg.
If you have a pocket hole jig, you may want to consider using it here, as it allows one to angle the screws so that they are hidden on the inside of the apron.
Step 5: Sanding for a Fine Finish
Sanding is the step that will bring your rough timber to the point where it’s ready to accept the stain. First, get rid of saw marks and uneven parts of wood with 80-grit paper, then use 120-grit paper to further smooth the surface. Ending the sanding process with 220-grit paper will give you a very smooth, almost polished finish.
A handful of important points to remember:
- Keep your sanding movements along the grain line. The fact is that if you make scratches against the grain, they will be very clearly shown once the stain is applied.
- Put on a dust mask and goggles when you are sanding.
- Before going forward, take a damp cloth and wipe dust off the whole table.
Step 6: Stain and Seal Your Table
Stain is used to deepen the color of the wood, while sealant acts as a barrier against moisture, heat, and leveling of the daily wear, which means that you actually need both if you want your wooden table to have lasting beauty and functionality.
Picking the right products:
- Oil-based stains are the ones that really go deep, so their color turns very rich. On the other hand, they dry very slowly.
- Water-based stains have a quicker drying time and are easy to clean up; however, their color may not be as vibrant.
- Because of its durability and water resistance, polyurethane sealant has become a very popular product for kitchen tables.
Tips for application:
- When you are applying stain, do it starting from the grain with your brush or rag.
- If you wait 5 to 10 minutes, you can remove the extra stain with a rag.
- After the drying period (see the product label for the timing), you may put a second coat if you like it better.
- When the staining is complete, put two or three thin coats of sealant with a light sanding in between each coat.
Step 7: Final Assembly and Quality Check
Once you have the framework ready and the finish put on, last but not least is revisiting and attaching the tabletop to the frame. To allow the natural wood movement, use figure-eight fasteners or wooden buttons; this means that the wood won’t warp over time.
Final quality checklist:
- Are all four legs of the table perfectly level with each other?
- Were all the surfaces satisfactorily smooth without any defects and scratches?
- Are all the joints tight and without wobbles?
- Is the finish uniform without any drips or discoloration?
You can easily fix the small flaws here and there by sanding them off gently and, afterwards, putting on a fresh coat of sealant. Step back and admire your work!
Building a kitchen table from scratch is undoubtedly a very rewarding DIY project you can take on.
With a few steps, some tools, and mostly a weekend, you get a piece of furniture that can serve you well instead of one that will end up in a landfill in a couple of decades.
Don’t be scared to start your first project. Breaking down projects into smaller steps and catching mistakes or imperfections is a method that experienced builders use every day in their work. The skills you develop by doing this project will help you with the next ones.
If you need more ideas, go to the online communities such as r/DIY on Reddit, or just have a look at YouTube channels of people like Steve Ramsey (Woodworking for Mere Mortals), etc. There, beginners regularly post their builds and also get feedback from very experienced makers.
It’s ready!